
|
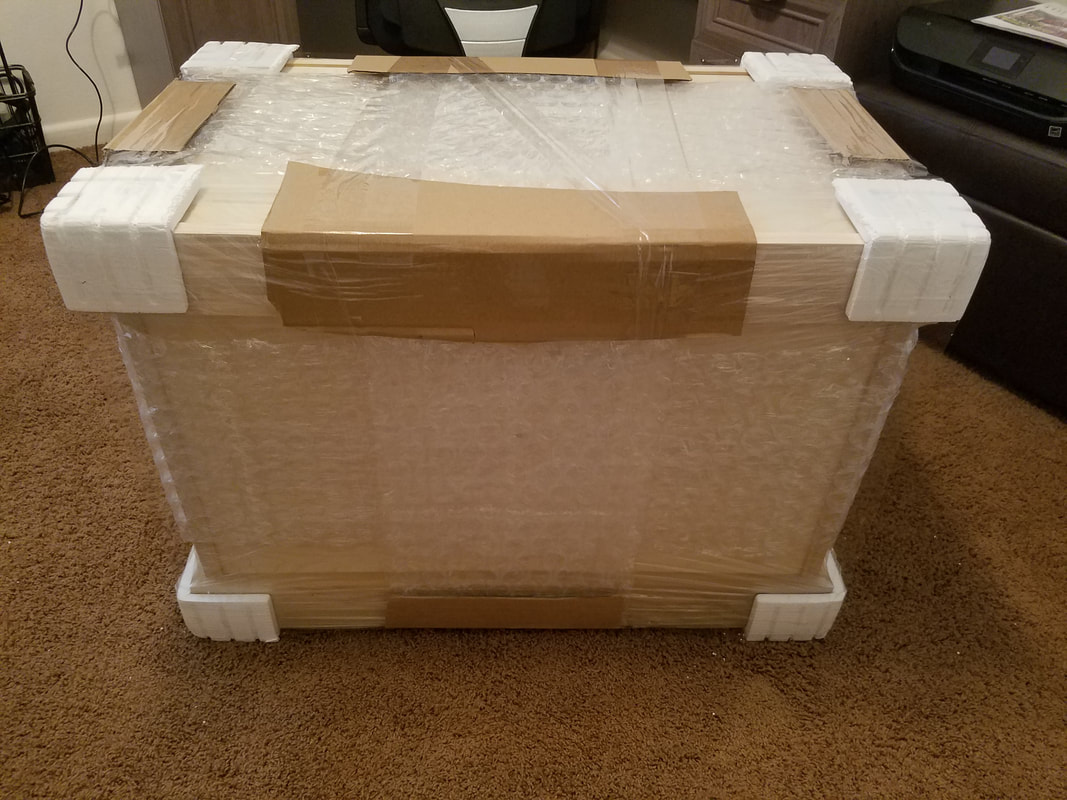
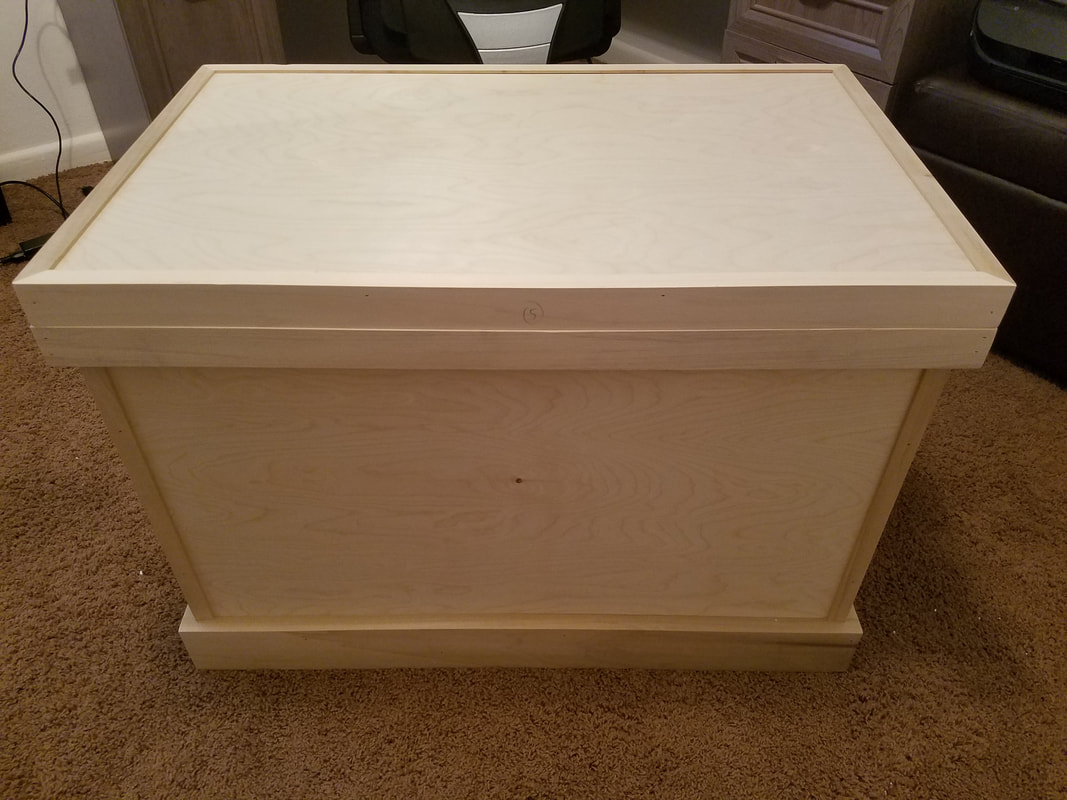
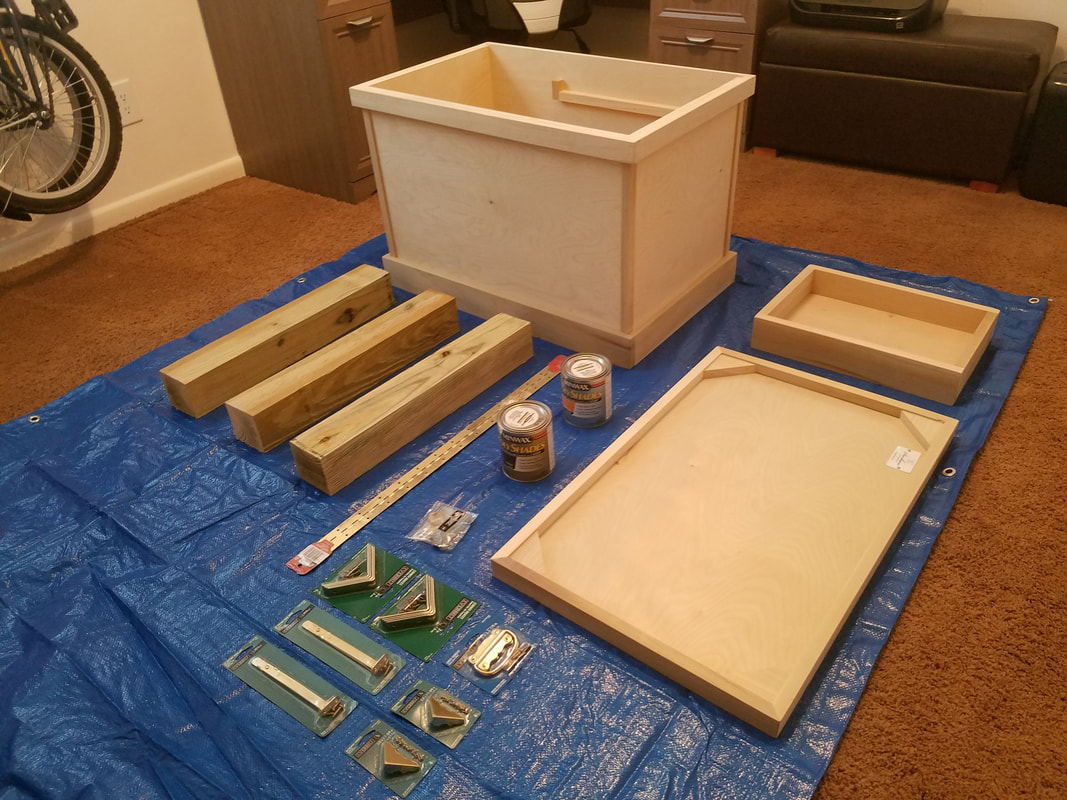
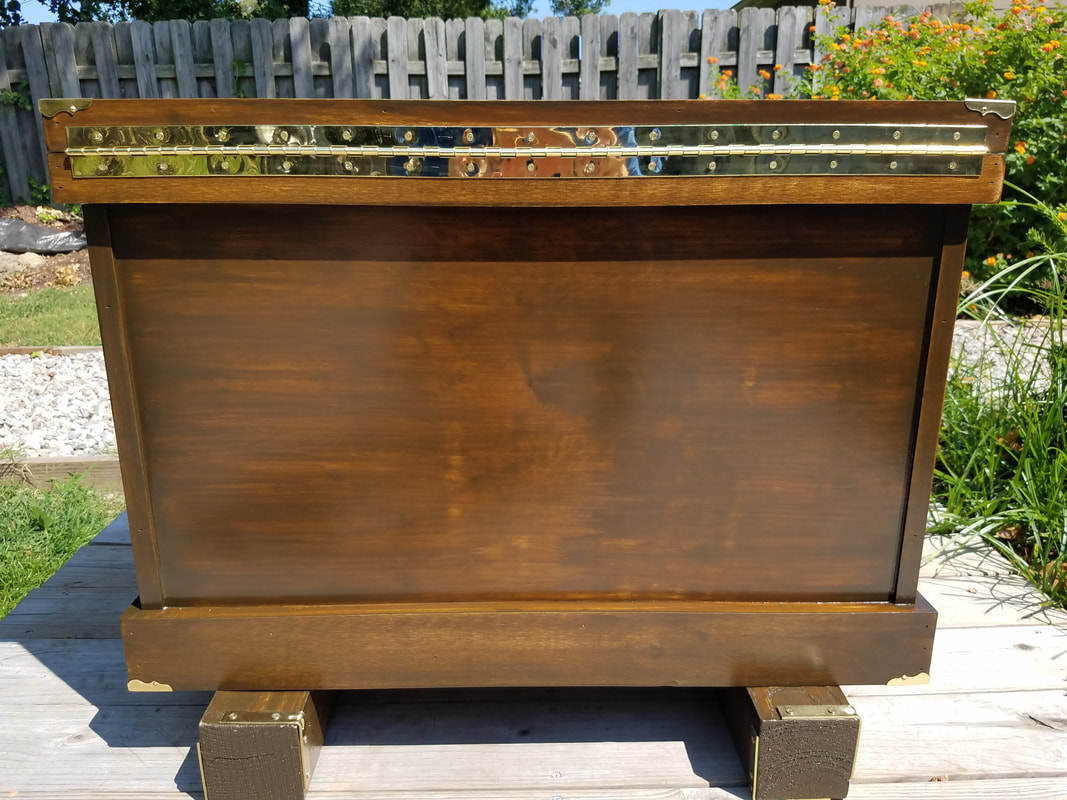
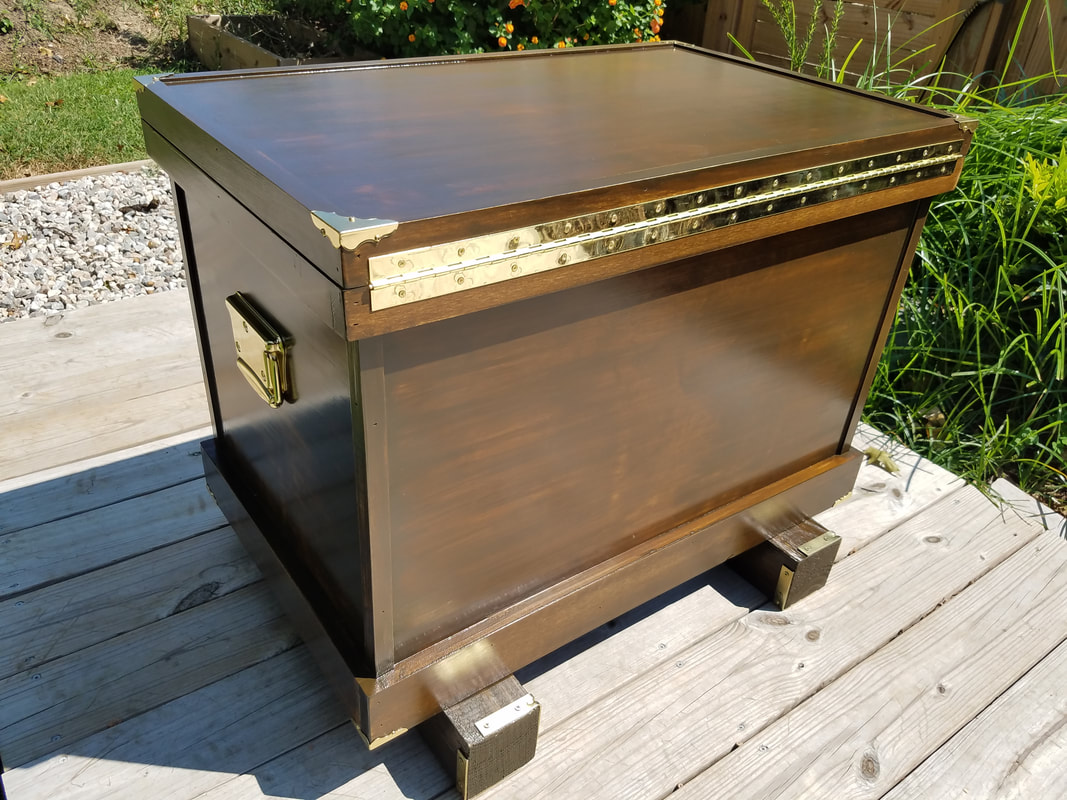
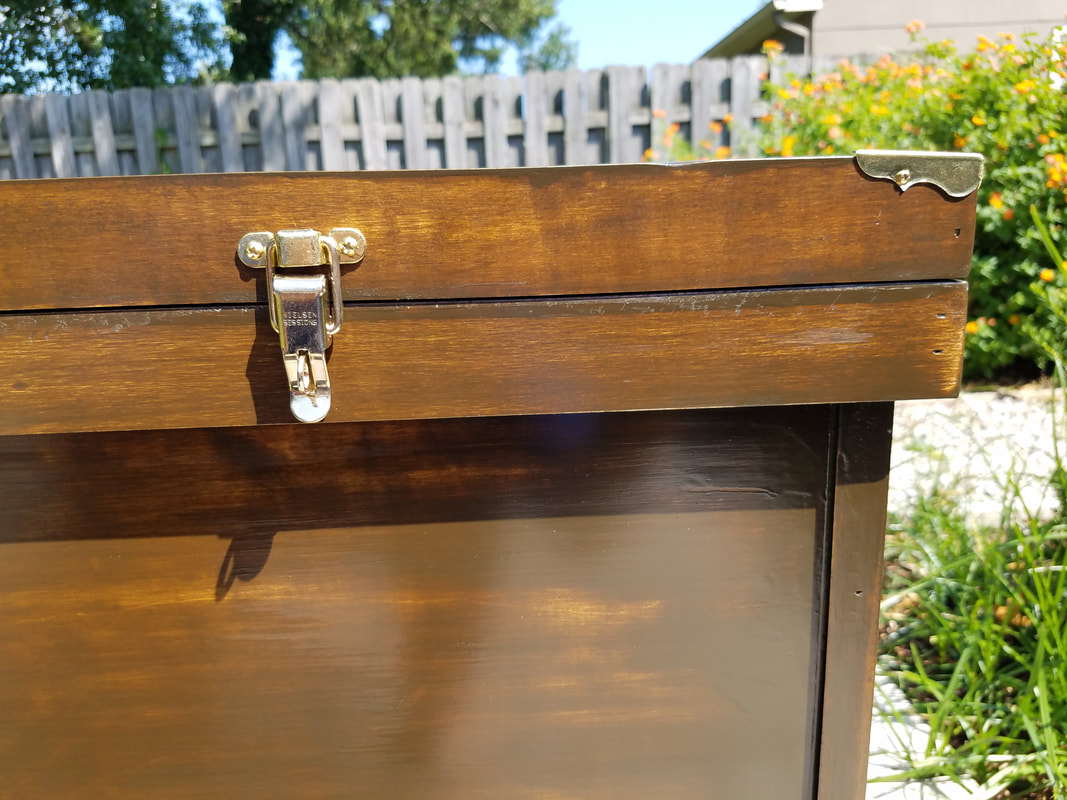
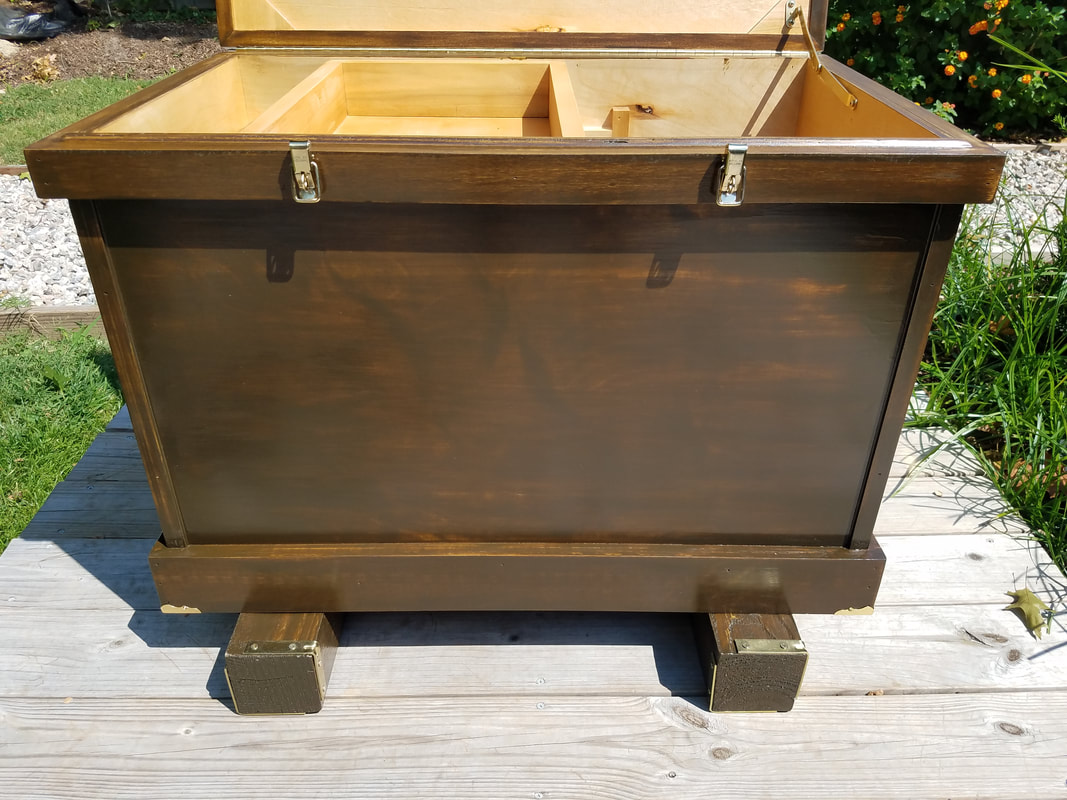
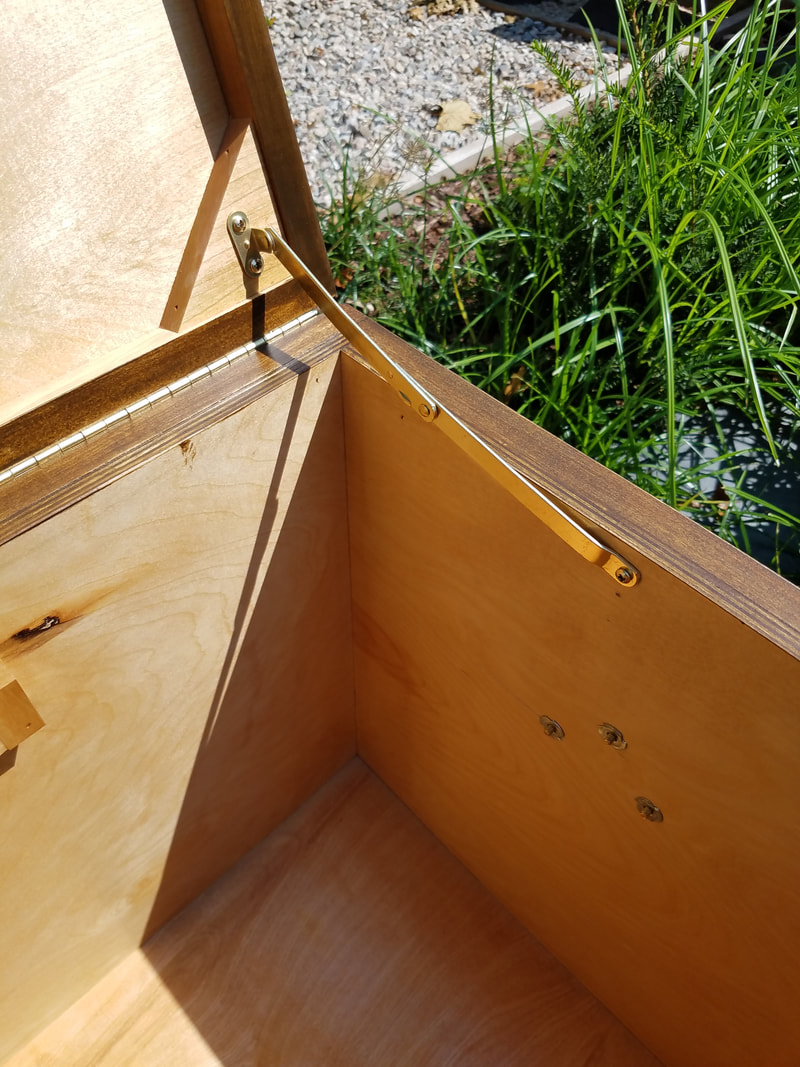
Tack trunks. Every equestrian needs one for all the 'stuff' we accumulate. Tack, treats, brushes & other grooming supplies, clippers, first aid kits (cause we all know horses are quite accident prone), duct tape, vet wrap, Epsom salts, hoof hardeners, crops, gloves and the list could go on and on....and on. After much deliberation and online research, we purchased the standard trunk from Sawhorse Tack Trunks unstained and without any hardware to truly make it a customized trunk. Here's how we did it! We've all seen those b-e-a-u-tiful wooden trunks at shows with the monograms in the barn show colors and drooled. But the drool quickly dries when we see the cost. So, a lot of us have compromised with the Husky trunks from Lowe's or Home Depot which actually are very durable, have handles and some even have wheels! Cause lugging those things around is no fun! I started looking at wooden trunks while in Jacksonville, Fla. and had seen Sawhorse Tack Trunks on Facebook after a friend had commented on one of their posts. I promptly 'liked' the page and really kind of forgot about it. We moved to Virginia Beach and I brought my little black plastic trunk to the barn to set up my area in the lounge. I looked around and saw that all the other trunks were the nice wooden ones, so my trunk was literally the ugly duckling. I cringed. I spoke with my husband and thought maybe I'll just get a nice cover and that'll be fine. With the plastic trunk's size, the cost of getting a customized trunk cover just didn't make sense. I then remembered about the post I had seen from the Sawhorse Tack Trunks Facebook page and went to their website. My husband and I browsed the site and different trunks they have available. We decided to buy the standard trunk which is 32" x 21" x 20" and seemed like the perfect size compared to the plastic trunk I had. We purchased the trunk unstained and without any hardware to truly make it mine. First of all I want to say that the the trunk arrived so quick and incredibly well packed. I was impressed immediately after clicking 'submit order.' Here are some photos of the trunk as I unpacked it. I may have squealed a little. And it wouldn't be the last time during the process.. I knew I wanted to stain the trunk, versus painting it. I knew I wanted a dark stain so off to Home Depot we went. Gotta love that place! I chose to stain the inside lighter than the outside. We ended up choosing Minwax Polyshades Stain & Polyurethane in 1 Step *thinking this would make it easier, but we found otherwise...you'll read why in a little bit* I chose 'Honey' in a satin finish for the outside and 'Classic Oak' in a gloss finish for the inside. So, we began the journey of staining the trunk and all the pieces. We started by staining the inside of the trunk with the 'Classic Oak' and that proved to be quite easy. We used a 3 inch foam paint brush to apply the stain. We wore plastic gloves as we stained the inside and as you can see had a tarp to protect the carpet. After applying we left alone for at least a full 24 hours to ensure it completely dried. We applied the stain to the entire inside of the trunk body, the tray as well as the inside of the lid. 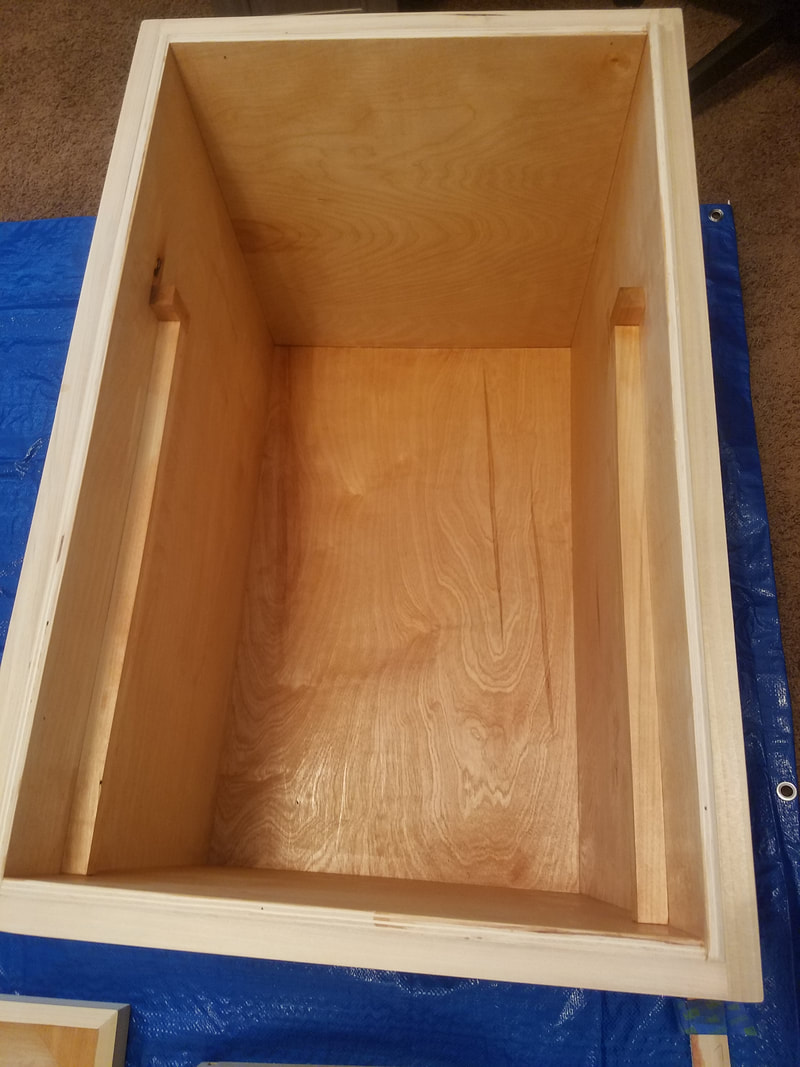 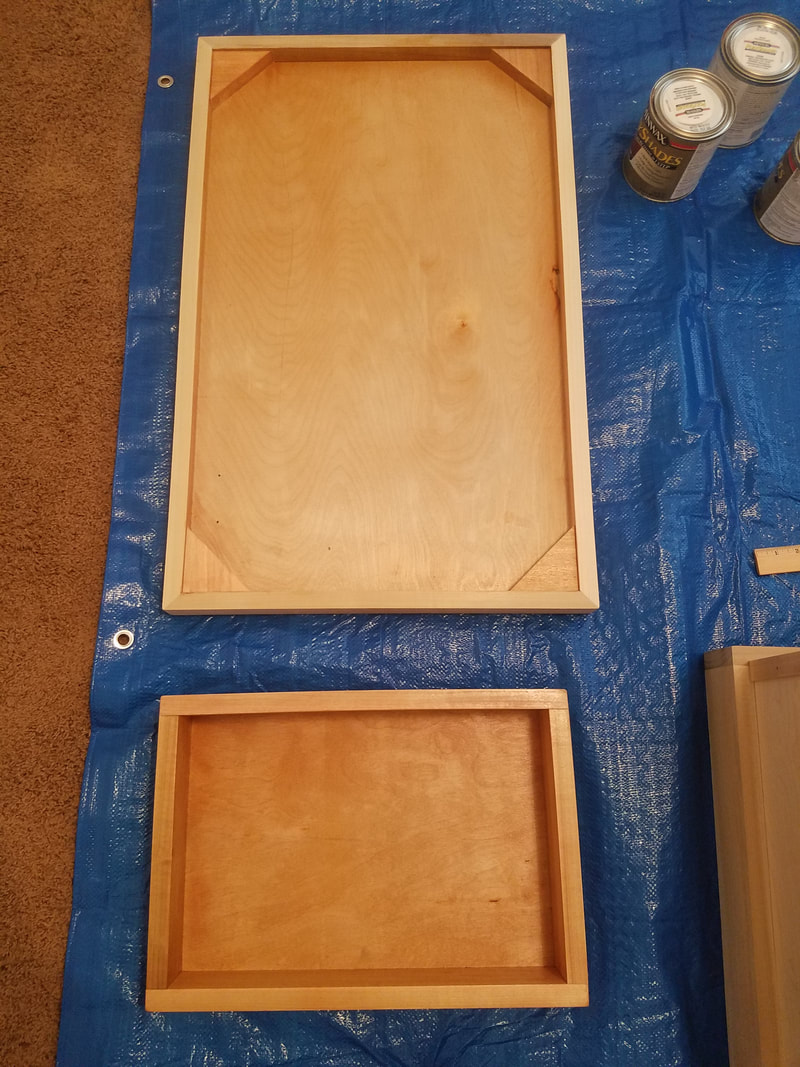 Next, we moved on the the trunk exterior. We started the first coat after testing the stain on a piece of scrap wood. At first all was going well. Then we took a step back and both my husband and I gasped. The stain looked extremely patchy and spotty. Which meant sanding and doing another coat, which I didn't really want to have to do because I didn't want it too dark. I wanted the wood grain to come through the stain. Needless to say we were both a little nervous. *Tip* Once you start to stain, you've got keep going! Go WITH the grain of the wood and use long strokes. DO NOT load the brush with stain -- you can always add more, but you can't remove it. (without giving yourself more work by having to sand the wood!) 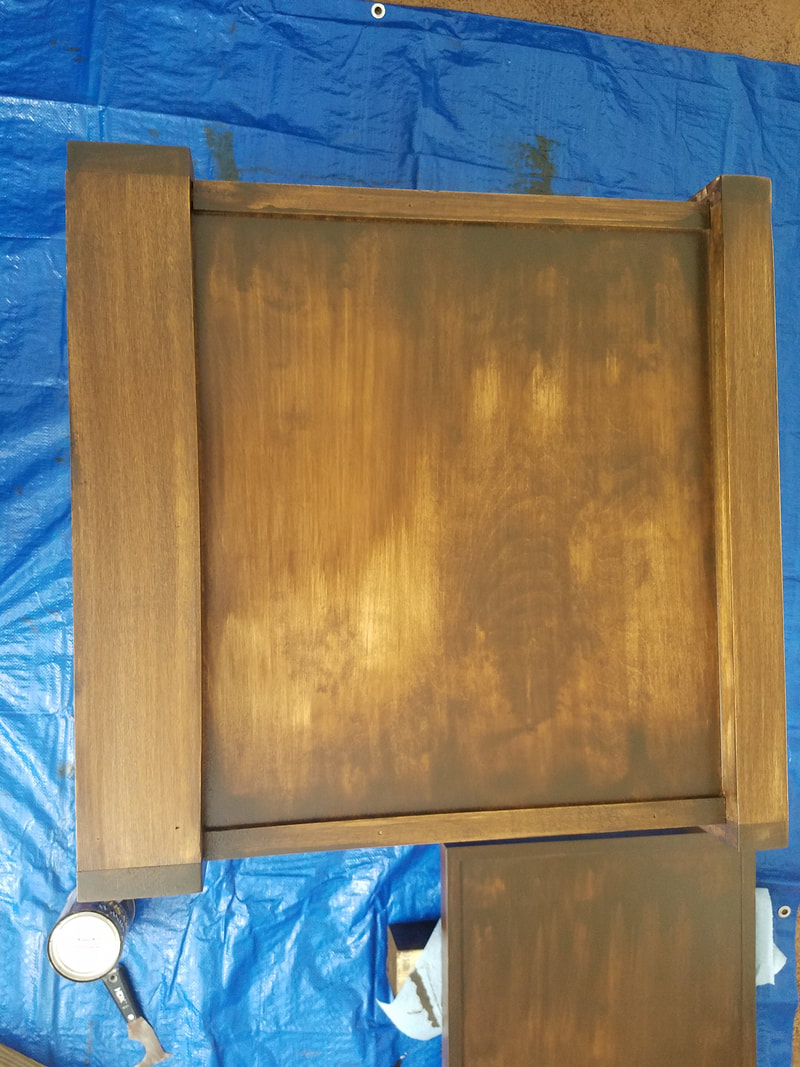 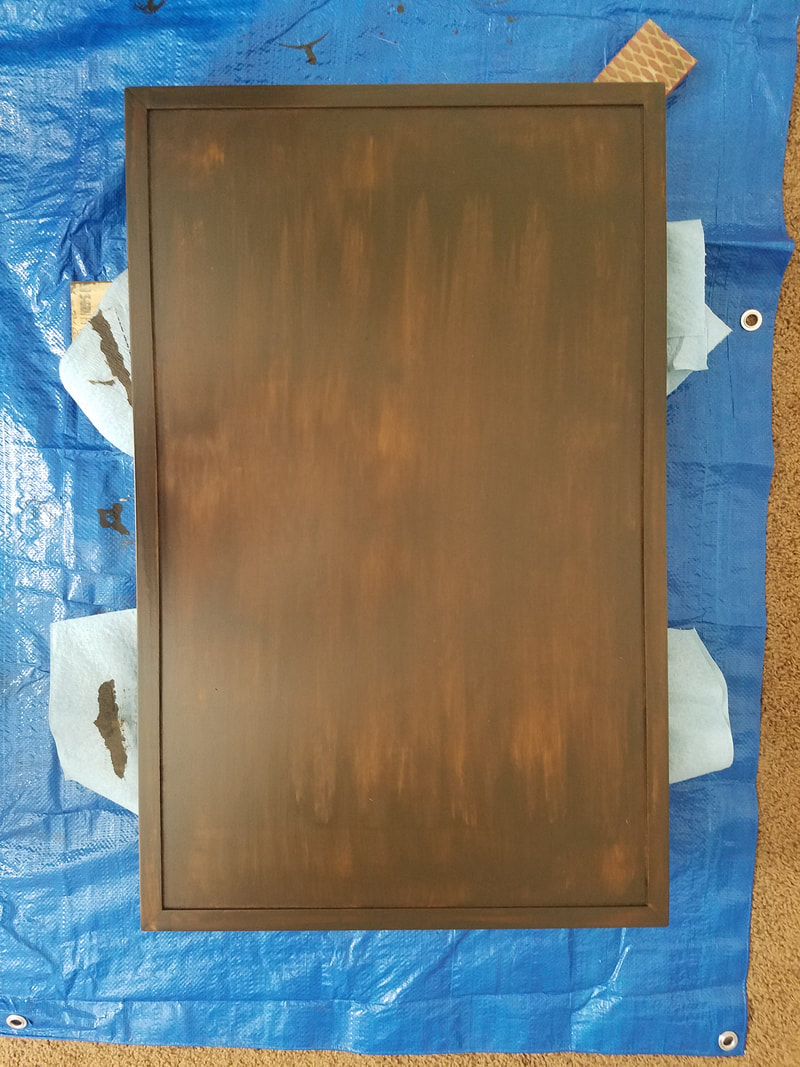 We sanded and reapplied. Sanded and reapplied. After a few coats of stain the trunk looked IMPECCABLE! Next up on the list.....hardware! Again, off to Home Depot and a little online shopping! We used the following products all in brass:
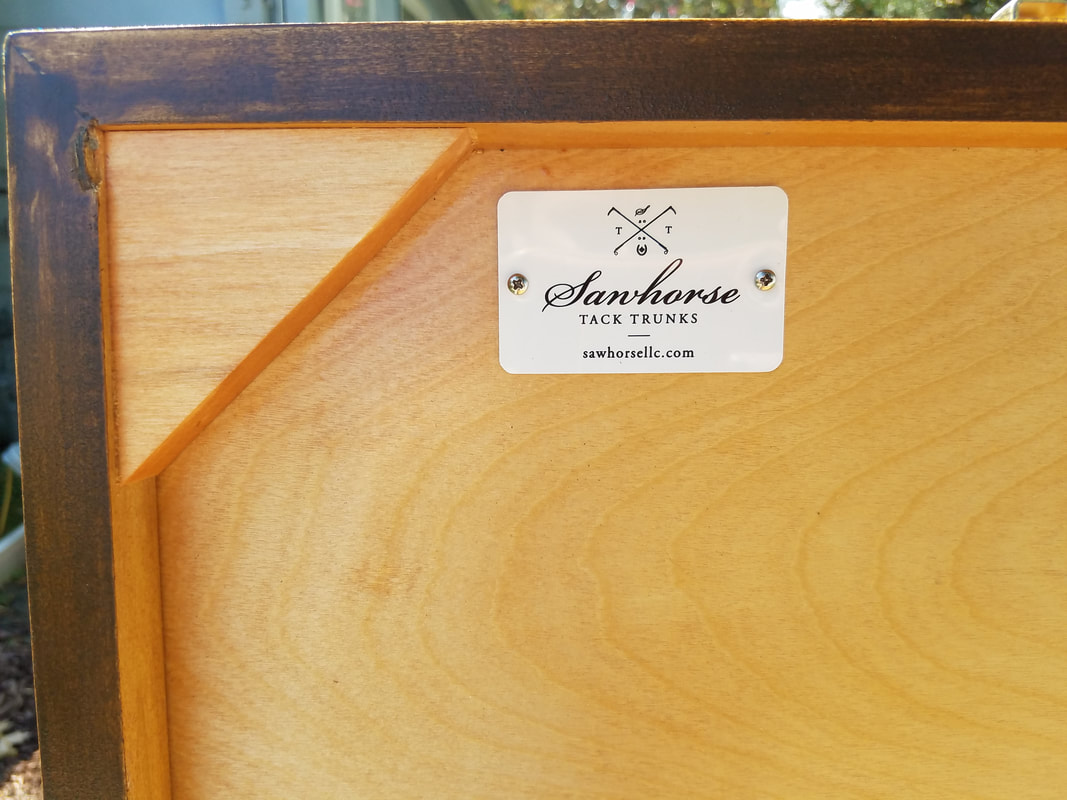
Oh, and we also purchased two 24" 4 x 4's which we stained in the same 'Honey' as the trunk exterior and attached Everbilt Corner Braces to each end. I'll use these at shows to keep the trunk off the ground. After a few headaches with the stain, which we attributed to the stain + polyurethane 2-in-1, we ended up doing our own clear coat since we had sanded the stain. I know this post is long, but I hope it helps a few of you that might be looking into this same option and provide the inspiration to do it yourself to TRULY make it your own! Here's the finished product that at the time of the photos I didn't have my name plate in yet, but I've included a photo of it at the barn with my name plate. I am SO EXCITED about this trunk and can't thank my husband enough for all the work he put into it! Best horsey husband E-V-E-R! 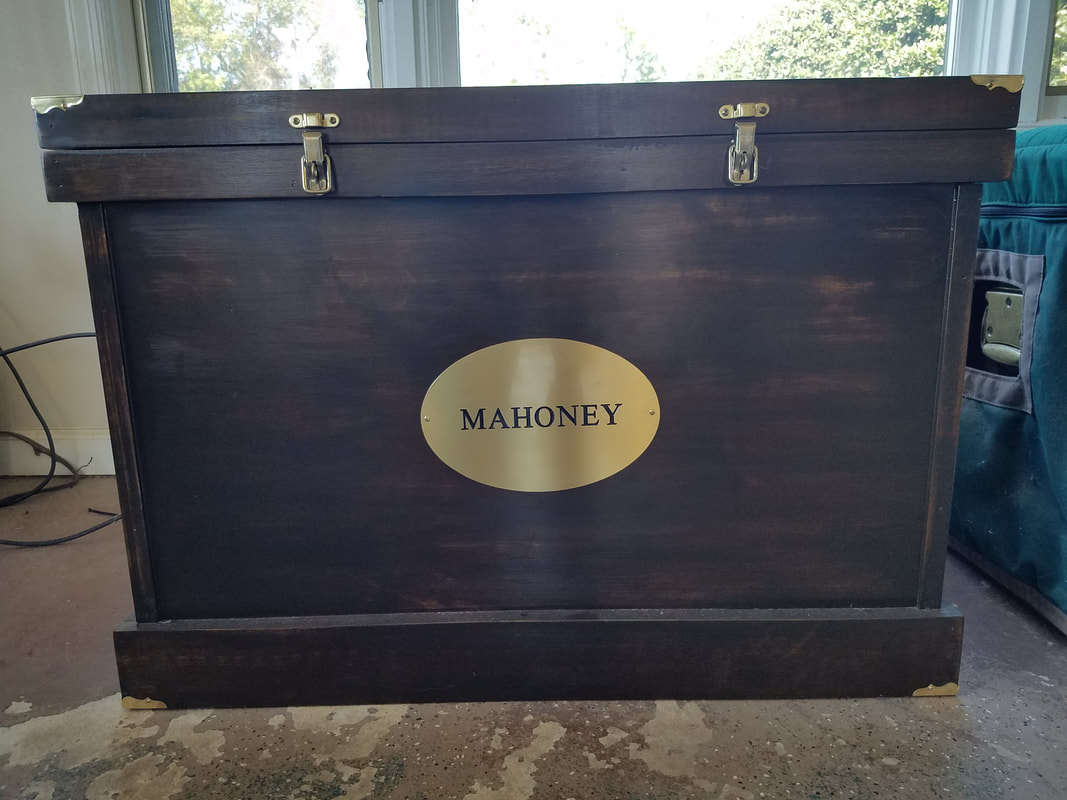
1 Comment
Elizabeth
1/25/2018 04:18:02 pm
This really came out BEAUTIFUL! Great job. What an awesome company. Leave a Reply. |
Categories
All
popular posts


|


 RSS Feed